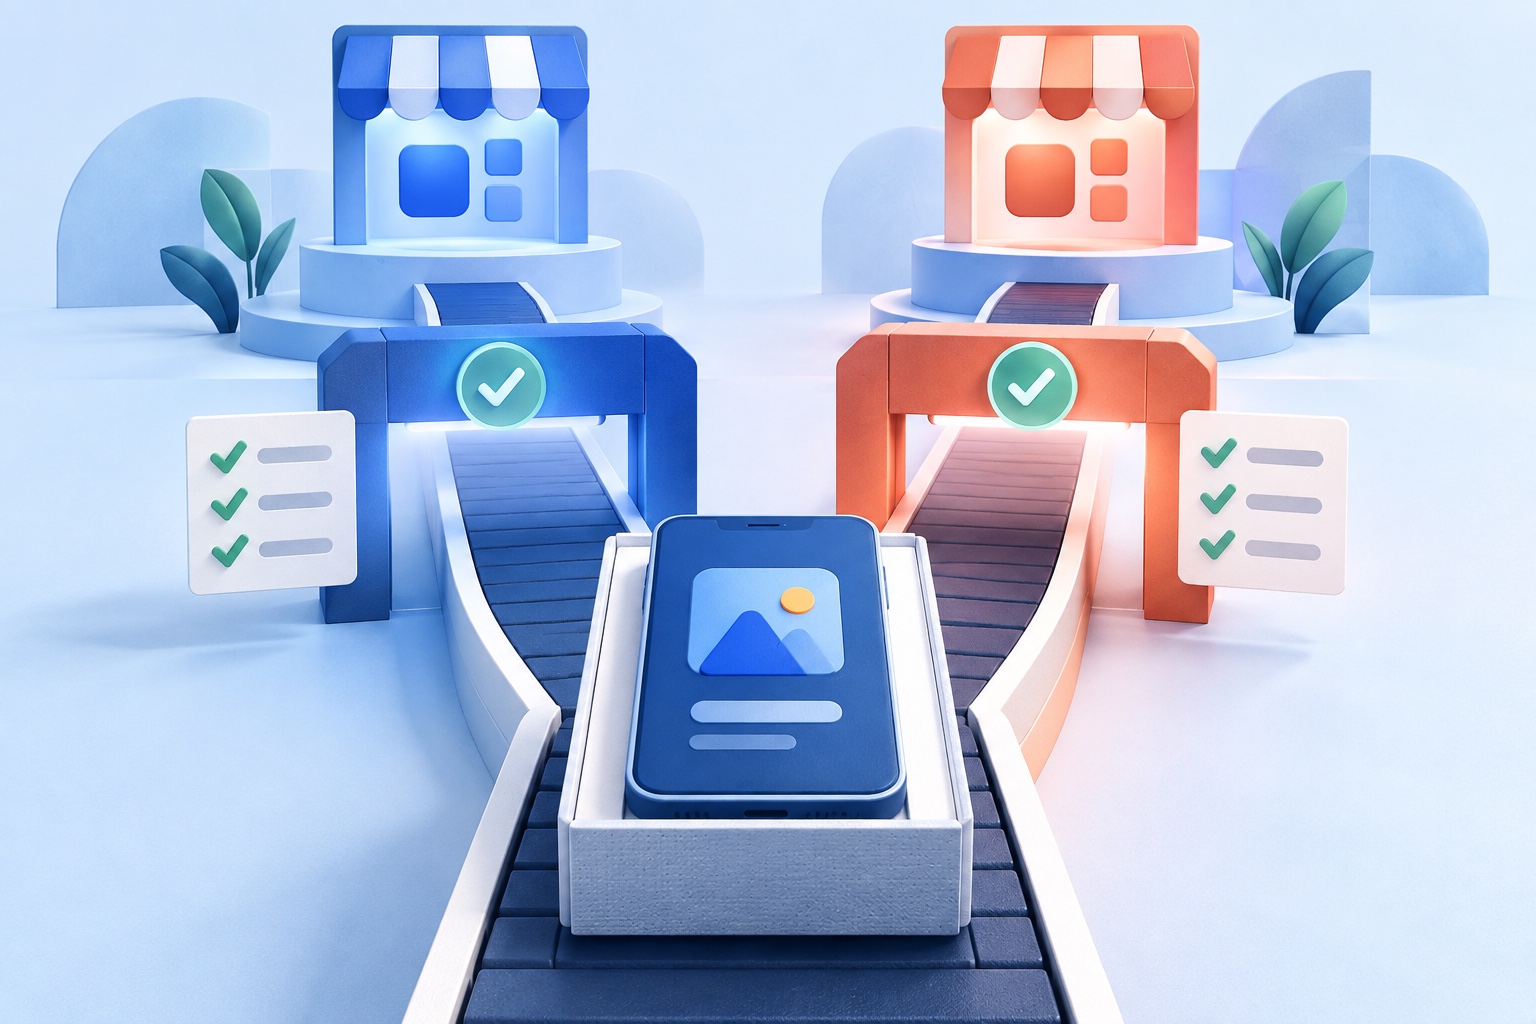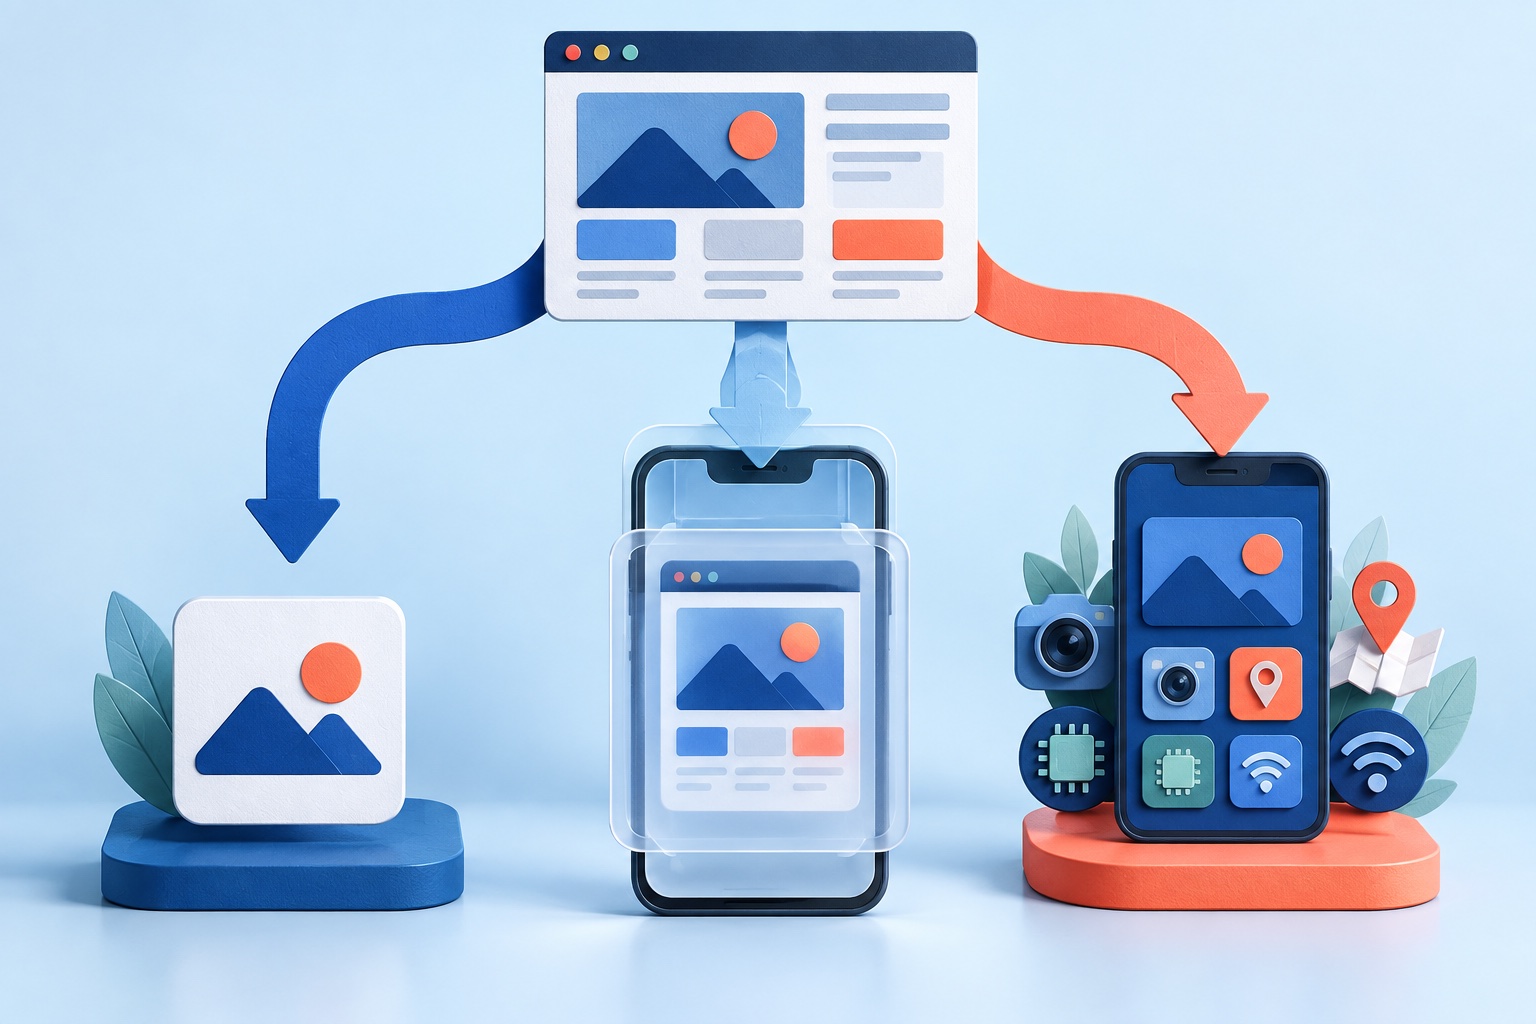

You can turn a website into an iPhone app without installing Xcode and without owning a Mac. A converter builds and signs the app on its own build service. What you cannot skip is Apple itself: you need an Apple Developer account, and the app still goes through Apple's review.
This guide walks through the full path, from a website URL to a build on TestFlight, and explains which parts a converter does for you and which parts stay with you.
What building an iOS app normally requires
Apple's own toolchain is designed for Macs. A traditional build needs:
- A Mac running a recent version of macOS and Xcode
- An Apple Developer Program membership
- A registered bundle identifier, signing certificates, and provisioning profiles
- An archive of the app uploaded to App Store Connect
- A TestFlight build for testing, then a listing and a review submission
Apple also raises its minimum requirements regularly. As our publishing guide notes, App Store Connect now rejects uploads that are not built with Xcode 26 and the iOS 26 SDK. If you build yourself, you must keep your Mac and Xcode current and rebuild when the requirements change.
A converter moves the build step off your computer. You do not install Xcode or run the signing process. You still hold the Apple account.
What you still need: an Apple Developer account
This is the part nobody can remove. To distribute an iOS app, the app must be tied to an Apple Developer account. Apple currently lists membership at $99 per year. You can enroll as an individual or as an organization. Organizations usually need a legal entity and a D-U-N-S Number, and verification can take time, so start early.
Choose the owner carefully:
- If customers should see your company name as the seller, enroll the company, not a freelancer.
- Keep account ownership with the business. A former contractor holding the only admin account makes later updates difficult.
- Turn on two-factor authentication for the Apple Account.
Read Apple's membership comparison for the current requirements.
Step 1: Check that your website is ready
An iOS app that loads your website inherits its strengths and weaknesses. Before you build, confirm:
- The site uses HTTPS on every page.
- Layouts work at phone widths without zooming.
- Navigation, login, checkout, and forms work with touch.
- Links and support pages are live, and the privacy policy matches your actual data practices.
- Login and payment flows work in an embedded view, including any popup or redirect used for sign-in.
The readiness checklist turns this into a short self-assessment.
Step 2: Preview your website as an app
Open SiteTo.App and enter your public website URL. The builder tries to extract your site's name, logo, and suggested navigation. Review the suggestions, since automatic extraction can miss links or choose a title you want to change.
The next step shows a phone preview you can open on your own device. Test the journeys your customers use: home page, sign in, search, checkout or booking, and the back gesture. A working preview does not prove that every website feature works, so pay particular attention to external authentication and payment flows.
The preview is free. You pay only when you request a build.
Step 3: Set the app's name, icon, and launch screen
Confirm your app name and bundle identifier. The identifier looks like com.yourcompany.yourapp. It is a permanent technical identity, and changing the visible name later does not change it.
Add an icon and a launch screen. Use a square, high-resolution icon, and check Apple's current icon requirements for transparency and sizing before you submit. You can continue with the extracted branding and edit it later in the dashboard.
Step 4: Connect your Apple Developer account
For an iOS build, SiteTo.App needs a connection to your App Store Connect account. You create an App Store Connect API key, download one .p8 private-key file, and enter your Issuer ID, Key ID, and Team ID in the app editor. The whole procedure is in the Apple Developer account guide.
A few practical notes:
- Treat the
.p8file like a password. Apple lets you download it only once. - Use a dedicated key so you can revoke it later without affecting other tools.
- The Issuer ID, Key ID, and Team ID must all belong to the same Apple developer team.
Step 5: Pay for the iOS build
On SiteTo.App, an iOS build is a one-time $79. Android is $29 and both platforms together are $99. Apple's $99 yearly membership is separate, as are hosting costs for your website. There is no ongoing subscription. See pricing for the current plans, and how much it costs to turn a website into an app for the wider cost picture.
Step 6: Request the build and test on TestFlight
After payment, request the iOS build from the dashboard. The app is built on SiteTo.App's build service, signed with the account you connected, and delivered to TestFlight in your App Store Connect account. Every iOS build goes to TestFlight first.
Install it through the TestFlight app on an iPhone and test:
- A fresh install and first launch
- Sign-in, sign-out, and password recovery
- The full checkout or booking flow, using test mode where available
- Slow or lost connectivity
- Denied permissions, such as notifications
- Links that open another app or the browser
- The system back gesture and keyboard behavior
If you can, test on more than one screen size. Fix anything you find on your website, since site changes reach the app without a new build.
Step 7: Add push notifications if you want them
Push notifications can bring users back to the app, but they must be useful and opt-in. SiteTo.App sets them up through Firebase, and iOS also needs an Apple Push Notification service (APNs) credential. Complete the Firebase setup guide before requesting a build that uses them.
Step 8: Prepare the store listing and submit for review
A successful build is not a published app. Next you complete the listing yourself in App Store Connect:
- App name, subtitle, and description
- Screenshots of the real app
- Privacy-policy and support URLs
- Privacy answers covering the whole app experience, including website analytics and payment tools
- Age rating and any content declarations
- Review notes and working demo credentials if the app requires a login
Then select the TestFlight build and submit it. Apple decides whether to approve the app. A converter cannot promise approval, and a website app should offer genuine mobile value to pass the minimum-functionality rule. Read Apple Guideline 4.2: will Apple reject a website app? before you submit.
What happens after approval
Choose whether to release immediately, manually, or in stages. Because the app loads your website, content and many feature updates go live on the web without a new store release. Native changes, such as a new icon, a push configuration change, or an Apple SDK requirement, can still need a new build. Expect to rebuild at least once a year, and decide in advance who owns that.
Common questions
Can I really build an iPhone app without a Mac?
Yes, if a build service does the compilation and signing. You still need an Apple Developer account and a way to install TestFlight, which can be an iPhone or iPad.
How long does it take?
The preview takes minutes. The longest steps are usually Apple enrollment, store listing preparation, and review, which are outside any converter's control.
Do I need a developer account if I only want to test?
For a signed iOS build delivered through TestFlight, yes. You can use the free preview to see the app on your phone first.
Will my existing website keep working as normal?
Your website is unchanged. The app loads it, and it stays the source of truth.
What if my site does not look good on a phone?
Fix that before building. An app exposes layout and usability problems very quickly. See how to convert a website into a mobile app for what to prepare.
Next steps
Preview your site as an iOS app and test it on your own phone. When you are ready to build, follow the create and publish guide and the Apple Developer account guide.
See your website as an app
Customize the experience and preview it before choosing a platform.
Build your preview