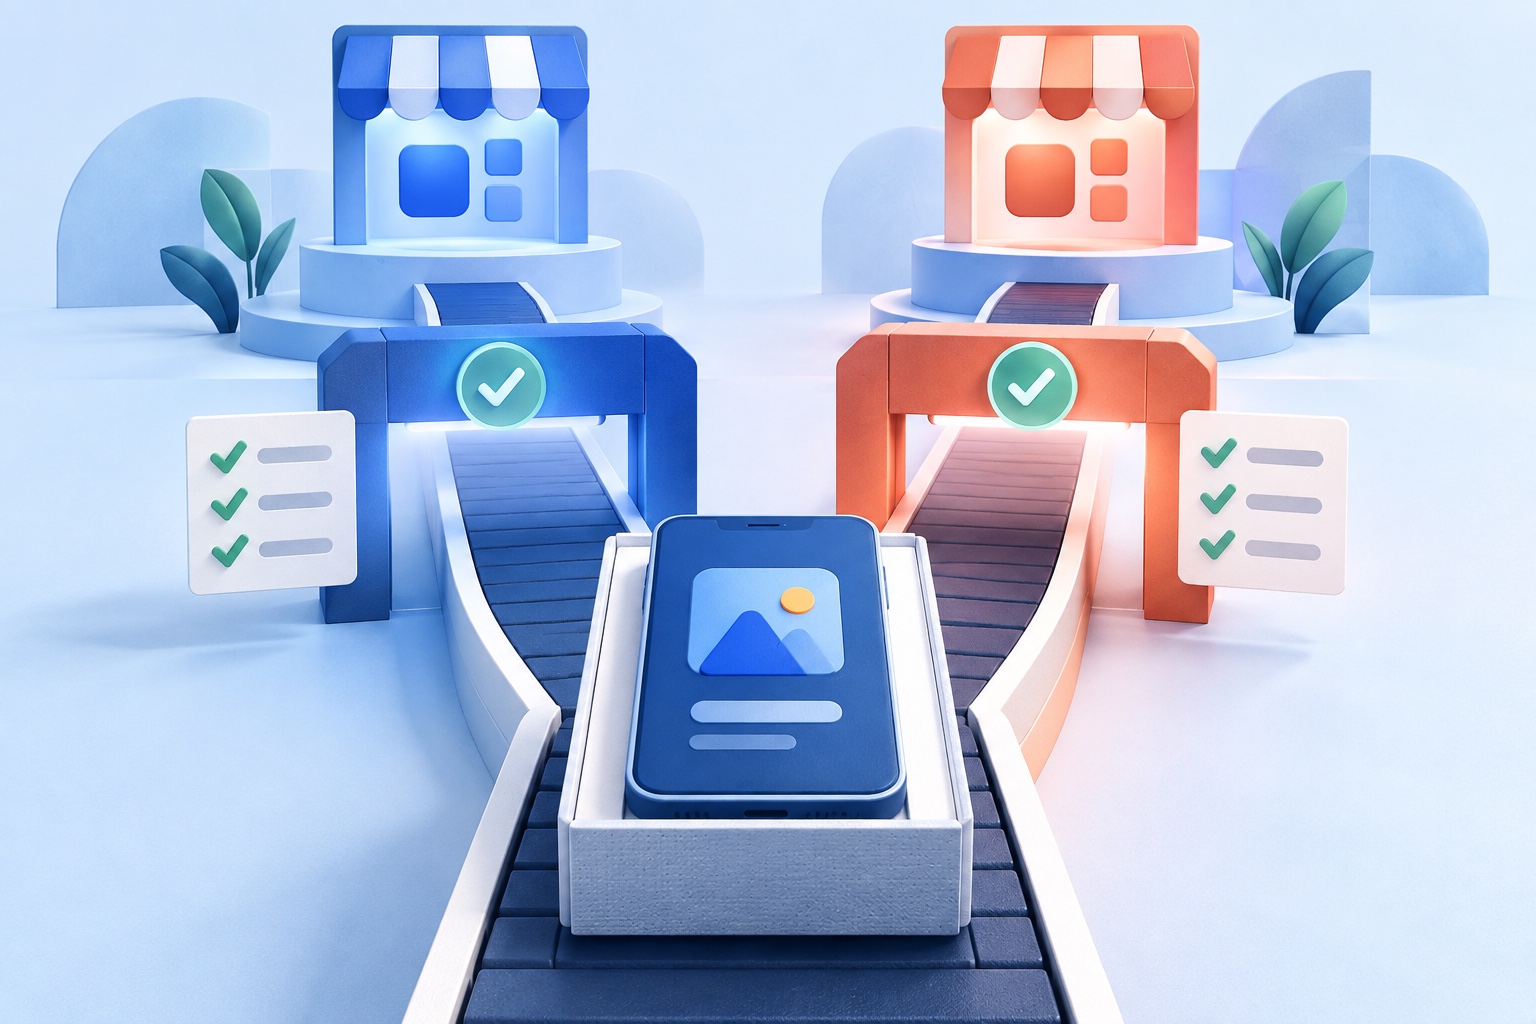
Publishing a website-based app requires more than uploading a build. You need the correct developer accounts, a stable mobile experience, accurate store assets, privacy disclosures, testing, signed iOS and Android builds, and clear reviewer access.
Apple and Google use separate systems. Prepare the product and brand information once, then complete each store’s platform-specific steps.
Before you create the store listings
Make sure the website is ready to behave like the core of an app:
- It uses HTTPS on every screen
- Layouts work at phone widths without zooming
- Navigation, login, checkout, and forms work with touch
- All links and support pages are live
- Loading, empty, error, and offline states are understandable
- The privacy policy accurately describes the app and website
- Users can find account and data controls
Apple’s review guidance says submissions should be final, with functional URLs and no placeholder content. Google similarly expects the listing to describe what the app actually delivers.
Step 1: Create accounts owned by the right entity
Apple
Join the Apple Developer Program as an individual or organization. Apple currently lists membership at $99 per year. An organization must verify its legal identity and generally needs a D-U-N-S Number.
If customers should see a company name as the seller, enroll the company rather than a contractor. Apple requires certain regulated services to be submitted by the legal entity that provides them.
Read Apple's current membership requirements.
Google Play
Create a Play Console developer account, choose the appropriate personal or organization account type, pay the applicable registration fee, and complete identity verification. Google currently lists a one-time $25 fee for full distribution in its published access terms.
New personal accounts may have testing requirements before production access. Check the dashboard rather than assuming an app can move directly to a public release.
Step 2: Reserve the app identity
Choose an app name, bundle ID for iOS, and package name for Android. Package identifiers are technical, permanent identities such as com.yourcompany.yourapp; changing the visible app name later does not change them.
Use a name you have the right to use. Search both stores and relevant trademark databases for conflicts. Prepare a high-resolution square icon without transparent areas where a store disallows them.
Step 3: Produce signed builds
An iOS app is archived and uploaded through Apple’s toolchain to App Store Connect. Android uses a signed Android App Bundle for Google Play. A no-code converter or managed service can produce these artifacts, while a source-code template requires you to build them.
Keep signing credentials and account access under business control. Losing keys or allowing a former contractor to own the only administrator account can make future updates difficult.
Step 4: Add genuine app value
This is especially important for website-based iOS apps. Apple’s minimum-functionality rule says an app should include features, content, and interface value beyond a repackaged website.
Useful additions may include:
- Native navigation tailored to mobile tasks
- Push notifications users explicitly choose
- Deep links into relevant content
- Native share, upload, camera, or download behavior
- Saved content or selected offline access
- A polished splash, loading, error, and no-connection experience
Do not add features only to check a box. Reviewers and users both benefit when native behavior supports the app’s actual purpose.
Step 5: Create accurate store assets
Prepare the app name, short and long descriptions, keywords where supported, category, icon, phone screenshots, contact details, support URL, and privacy-policy URL.
Screenshots must show the real app. Avoid unverified superlatives, fake awards, invented testimonials, or features that are not in the submitted build. Use the first screenshots to explain the core job in plain language.
For a website-to-app product, a strong sequence might show:
- The primary home or discovery screen
- The key transaction or member experience
- Mobile navigation
- A useful native feature such as notifications or saved content
- Account or support controls
Step 6: Complete privacy and content declarations
Both stores ask what data the app collects, how it is used, whether it is linked to identity, and whether third parties receive it. Audit the website, analytics, authentication, payment services, notifications, advertising, and any embedded tools.
The answers must describe the whole app experience, not only the native shell. If the website collects an email address or loads an analytics SDK inside the app, consider it in the disclosure.
You may also need to answer questions about age rating, ads, content rights, encryption, financial features, health information, location, or children’s access.
Step 7: Test before review
iOS testing
Use TestFlight to install the release candidate. Test on more than one screen size if possible. Verify sign-in, Apple-required account behavior, external payment flows where permitted, permissions, push notifications, links, and deletion controls.
Android testing
Use Play Console’s internal or closed testing tracks. Google allows internal testing for a limited tester group and may require newer personal accounts to complete a prescribed closed test before production access.
On both platforms, test slow connectivity, a fresh install, an expired login, denied permissions, the system back gesture, file selection, and any path that opens another app or browser.
Step 8: Give reviewers complete access
If the app requires login, supply an active demo account and instructions. Keep that account working throughout review. Explain non-obvious features, special hardware needs, regional restrictions, and where reviewers can find native functionality.
Google specifically advises developers to provide valid credentials for restricted content. A reviewer who cannot get past login cannot verify the app.
Step 9: Submit each app
App Store submission
In App Store Connect, select the uploaded build, finish required metadata and compliance questions, add review notes, and submit the version. Monitor messages in App Store Connect and respond precisely if Apple asks for information.
Google Play submission
In Play Console, complete the app content and store-listing tasks, upload the app bundle to the correct track, add release notes, resolve policy warnings, and roll out the release. Google Play uses Android App Bundles to create optimized packages for devices.
Google’s release documentation is the source of truth for current console steps.
Common reasons website apps are rejected
The app feels like a thin website wrapper
Improve native navigation and app-specific utility. Make sure the core experience is useful and polished on iOS, not simply a desktop page inside a frame.
Reviewers cannot sign in
Supply working credentials, disable expiring one-time codes for the review account when safe, and explain the login steps.
The listing is misleading
Remove screenshots or claims that do not match the build. Describe limitations clearly.
Privacy answers are incomplete
Audit web trackers and third-party services, not just native code. Make the privacy policy public and specific.
Links, purchases, or uploads break inside the app
Test every external handoff and return path on a real device. Decide intentionally which links remain in-app and which open the browser.
Required account controls are missing
If users can create an account, review current deletion and data-control requirements for both stores and expose the needed path clearly.
What happens after approval?
Choose whether to release immediately, manually, or in stages when the platform supports it. Watch crashes, failed web requests, login errors, user reviews, and support tickets. Keep store descriptions and privacy disclosures current when the product changes.
Website content can update without a new app build, but native configuration, SDK, permission, signing, or policy changes may still require a new release.
Publishing checklist
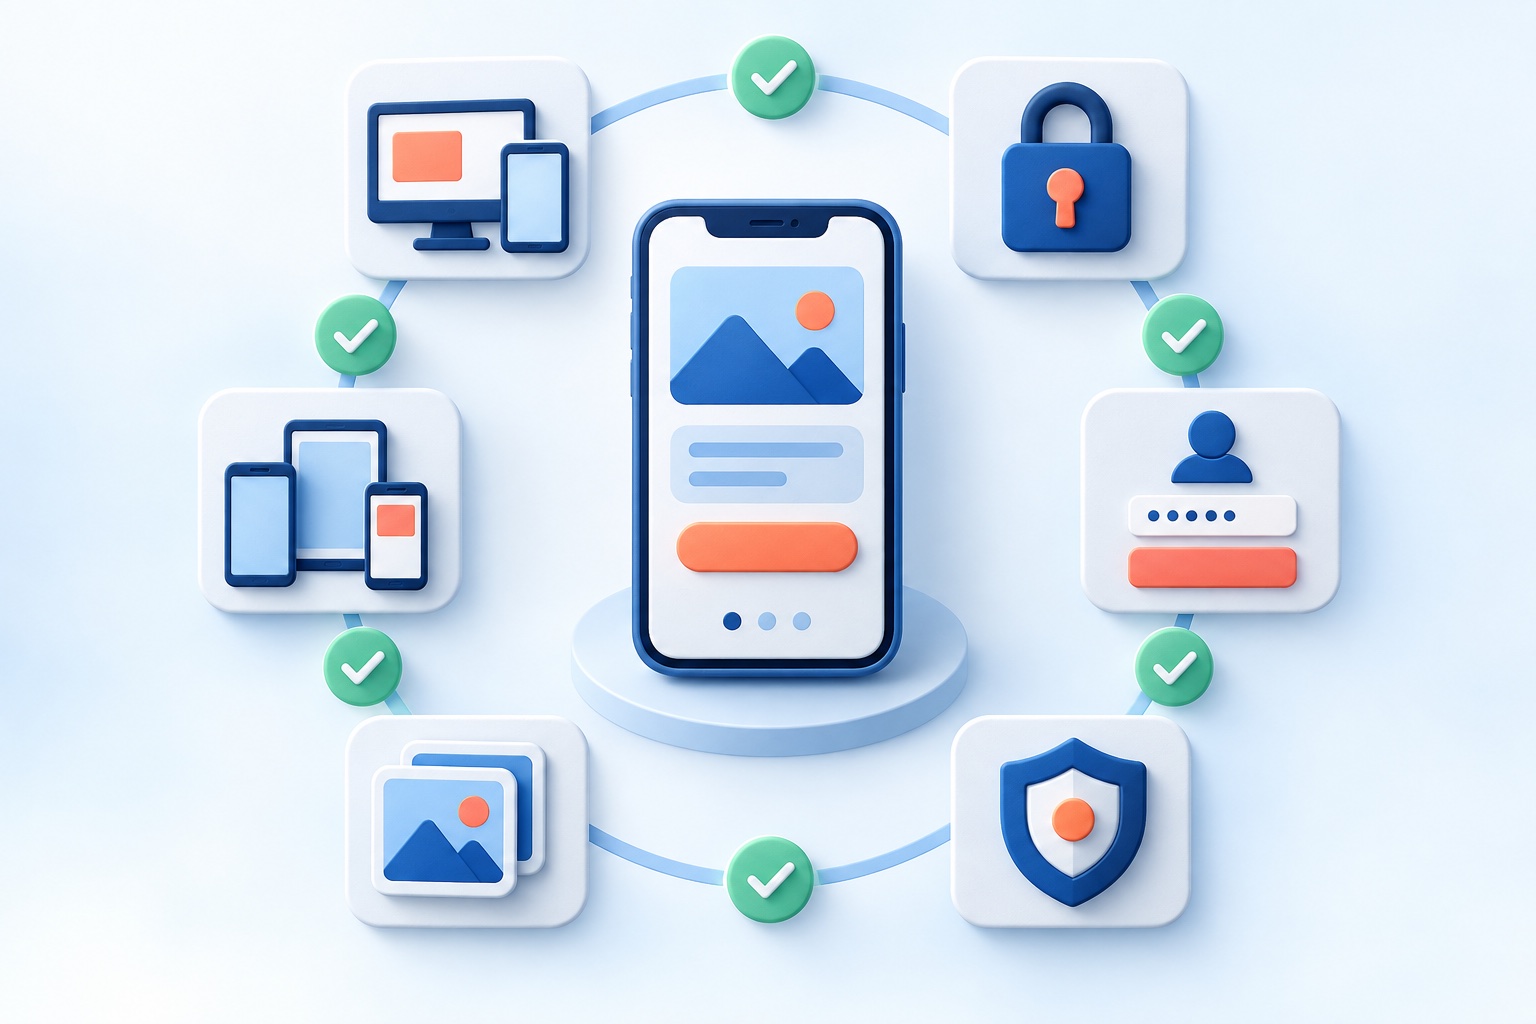
- Developer accounts are owned by the correct person or company
- The website is responsive, secure, and production-ready
- The app adds meaningful mobile value
- Both signed builds install and run on real devices
- Store names, descriptions, icons, and screenshots are complete
- Privacy and content declarations cover the web experience
- Support and privacy URLs work without login
- Reviewer credentials and instructions are current
- Pricing and availability are configured
- A team member is assigned to monitor review messages
If you have not created the builds yet, begin with our guide to converting a website into an app or preview your site in SiteTo.App.
See your website as an app
Customize the experience and preview it before choosing a platform.
Build your preview